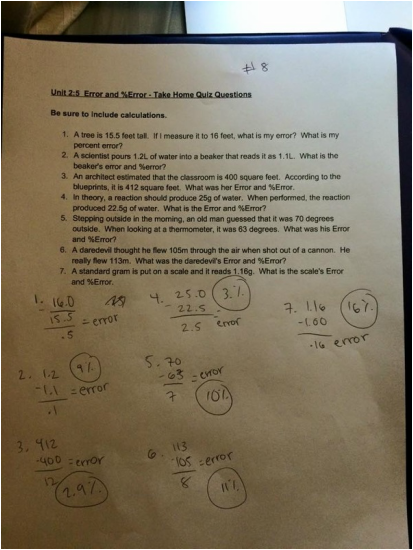
My favorite subjects are all science related. I am satisfied with the chemistry class I was in this year. I had so much freedom and a lot of opportunities to try things I wanted to do. Throughout the semester it was a mixture of labs, worksheets and class lessons. It all was an opportunity to be independent with producing work but still make sure to do it well. Given that I had a lot of freedom with completing my work, it was all up to me to produce work to get the grade I wanted. In the beginning of the semester it was a bit easier to get the full amount of points because I was involved in class labs that got me points. Then the next three sections were up to me to get my work done on time and well. I think the second session was helpful for me to learn about myself because I didn't blog any of my labs until the very end of the deadline. Going into the next section I wrote down my plans for the weeks to come and made sure to get the work done daily. At the end of section three, when all my posts were already on my blog, I felt so much better because I had used my time much wiser and felt better about my work since I had thought out my work ahead of time. Going into junior year I know it'll be helpful to manage my time wisely and try not to procrastinate because it only really affects me in the end when my work isn't completed.
|
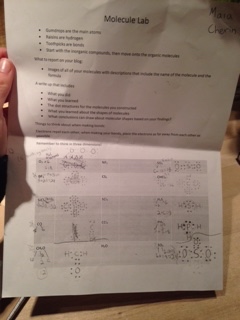
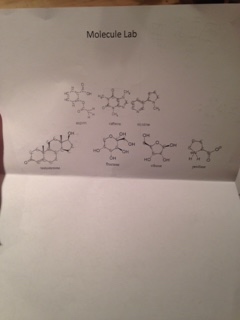
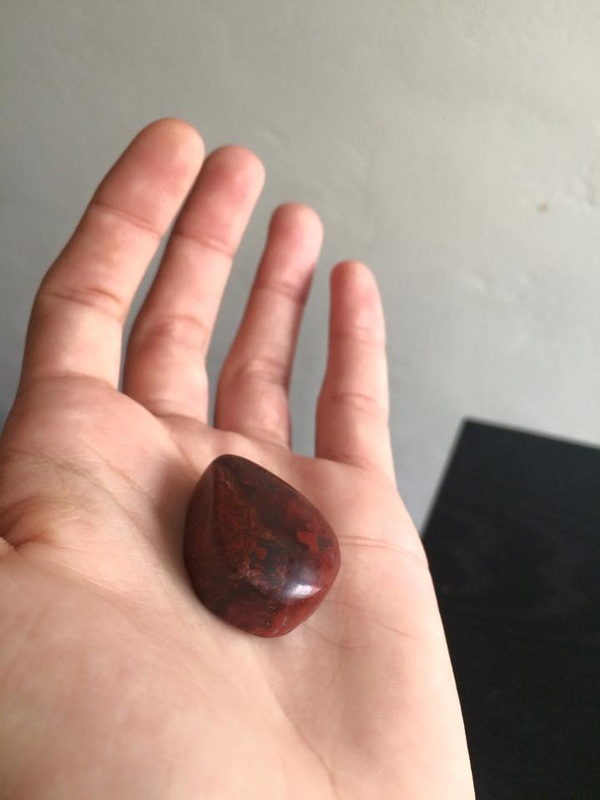
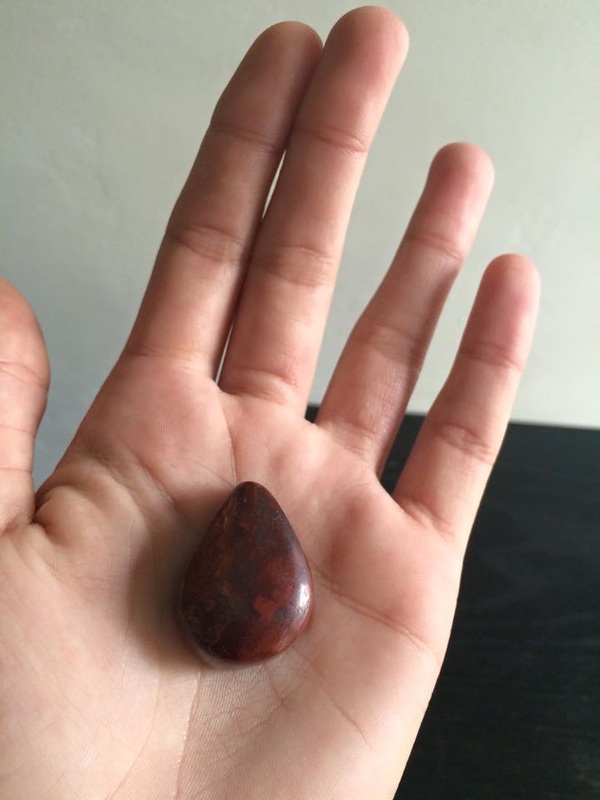
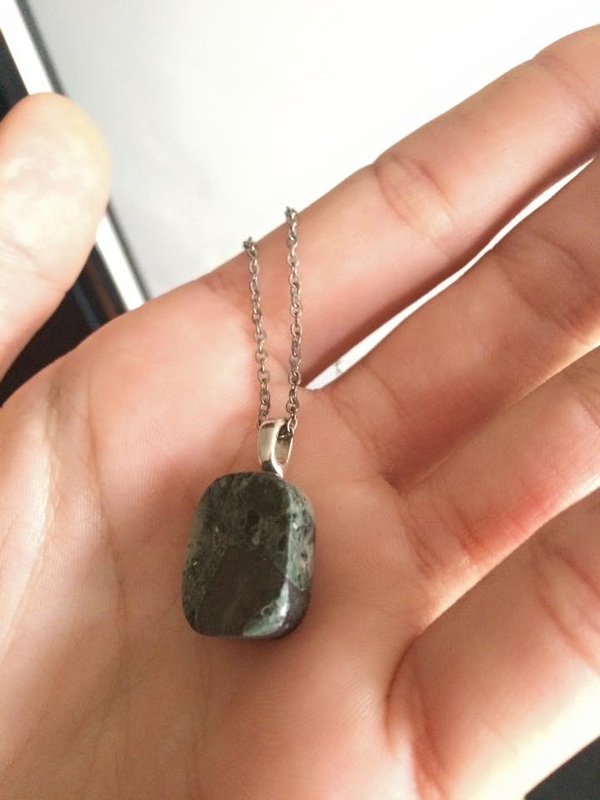
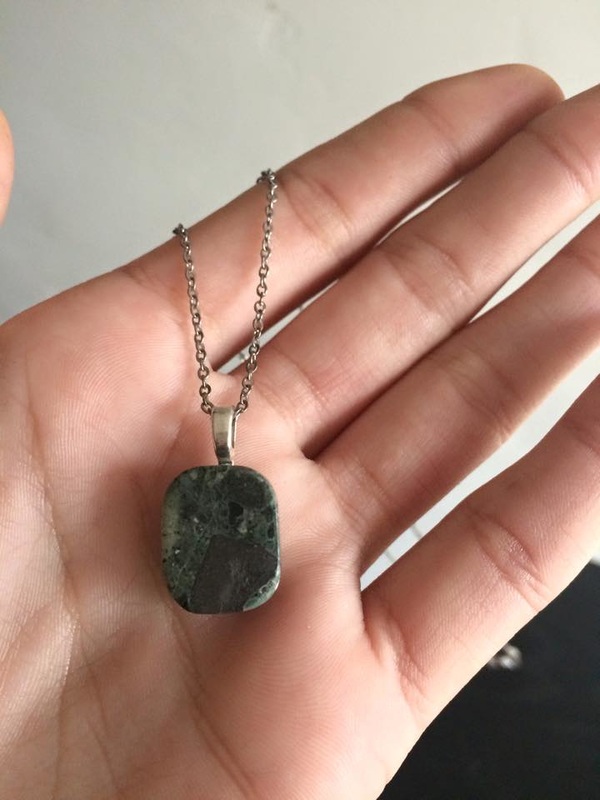
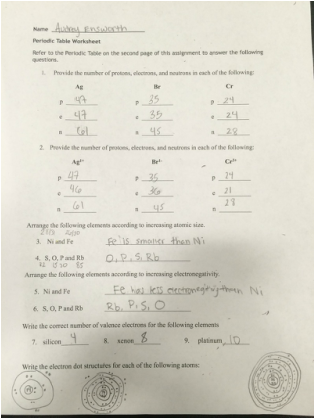
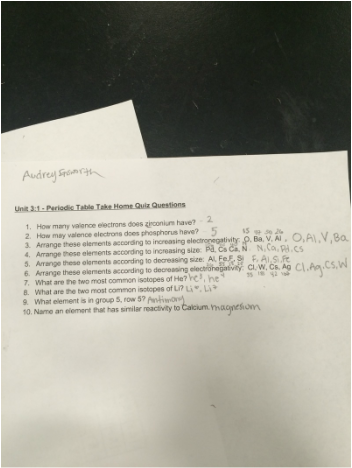
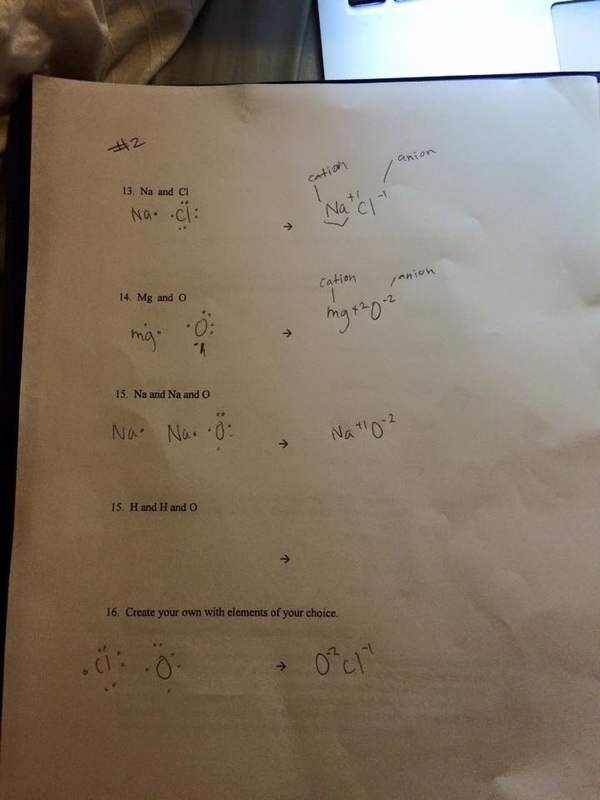
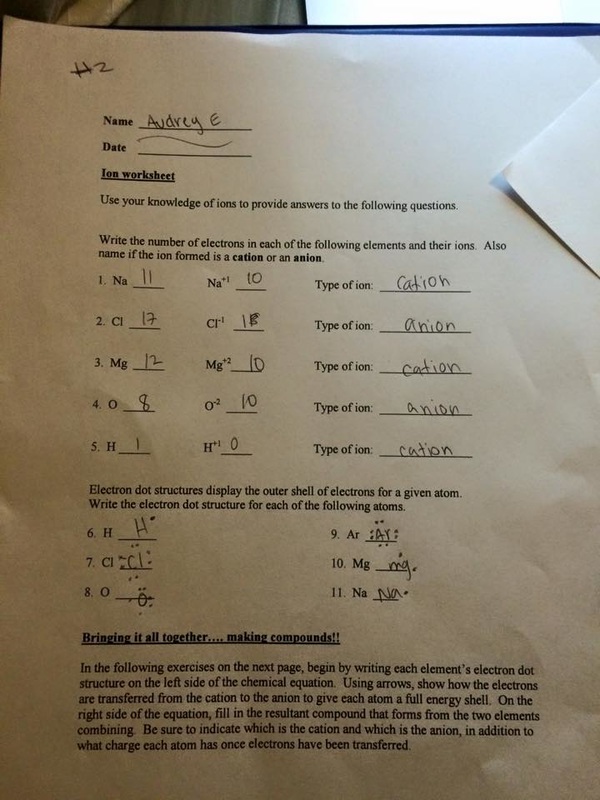
In the first part of this lab we drew lewis dot structures. We learned how to draw them and arrange the valence electrons in the correct order. We learned how to combine atoms with other ones and then draw the structure of them. A full shell around an atom contains 8 electrons, depending on which column the element it is in you can tell how many electrons are on the outer shell. After we drew out the molecule structures using the Lewis method, we then actually made the examples out of gumdrops and toothpicks. We made each element compound and enjoyed physically creating the molecule structures. What I learned is, how to setup element compounds lewis dot structures. I learned about double bonds and shared bonds, I also worked with many of the elements on the periodic table and learned about those. Molecules’ shapes are determined by the repulsion between electron pairs in the outer shell of the atom. Macromolecules is most of biochemistry now, how different structures of atoms fit together. I enjoyed this lesson on the Lewis dot structure because it was informative and interactive. I was interested in how to do this type of chemistry. ABOUT THE ROCKS/MY EXPERIANCE My two rocks that I worked on were Red Jasper and Dumortierite. Both rocks are different but both beautiful. The first rock a made was the red jasper. The red jasper goes through a lot of mineral phases, it is a popular rock for vases and jewelry boxes because of its greatness once it is polished. It has been used all the way since the 4th millennium BC. It is an opec rock and can look various different ways due to its process of making. The patterns form during the consolidation process and its patterns can be clarified by silica sediment of volcanic ash. Jasper is a broad rock, but the kind I used was Red. This rock is known to be a healing rock to the earth and rubbing it can stabilize the aura. It is made from silicon dioxides and usually has iron oxides and organic substances in it too. Jasper is a hard rock but can be dissolved in hydrofluoric acid. It is also a rock that isn't necessarily crystalized, it is more solid and mineral looking. The second rock I worked on was Dumortierite, it is a "aluminum boro-silicate mineral" , it can be different colors as well, but ones likes blue, green and and brown, sometimes all mixed. My rock was small at first and mostly blue, it was multicolored as well. I liked it because it was a subtle rock. There are no sources in the united states where dumortierite come from. It is a igneous and metamorphic type of rock its tenacity is brittle. It is found in high temperatures. REFLECTION: Before this project, a lot of my peers were working on this project, they kept going on about how fun it was and how interesting it was. I sort of just thought it was boring until I tried it, the first time I was a little frustrated because I had to cut a chunk of my rock off before I could get started on shaping and polishing it. Red Jasper is a very tough rock to sand and cut. But once I got to the shaping process I started learning and understanding. I had a good time working outside with my rock and each day doing something new to make it improve. Red jasper is a healing rock so I chose to make a soft teardrop shaped rock for my mom to hold onto. I spent about a week on the red jasper because it was my first rock and I had to take turns with my classmates on the rock wheel. Looking beyond in this project I can see myself wanting to try more things out of my comfort zone because of this. I didn't really think making a rock would be interesting but it was. I think if I ever get another opportunity to work with rocks again I would take it. There is a lot of satisfaction to gain from making your own jewerly or gift for a friend or family. The second rock I made was easier because it started off smaller and was easier to grind. I made my second rock into a necklace and was most satisfied with that. Rocks are actually really interesting, they are like little pieces of different types of sand made into a sturdy solid. It was a good privilege to be able to work with the tools I had to complete this project. THE PROCESS: First you have to choose a rock you are going to work on. Then if needed, you will have to cut it to make sure you can flattened the sides. After you need to use the diamond wheel on the rock wheel machine. This wheel is the longest step because you have to completely flatten the sides, also you have to form the shape you want your rock. After that it is 2 more different wheels that get rid of bumps and scratches on the rock. Then the last step is to put the polishing wheel on and polish your rock until it is shiny, soft and polished. Depending on your rock and the way you do this process, it can take just a couple hours to do this, or sometimes a couple days.
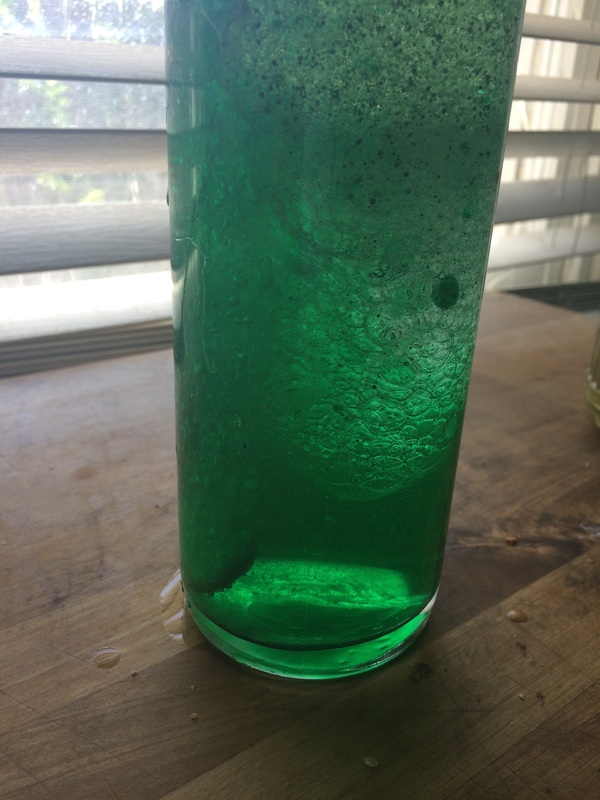
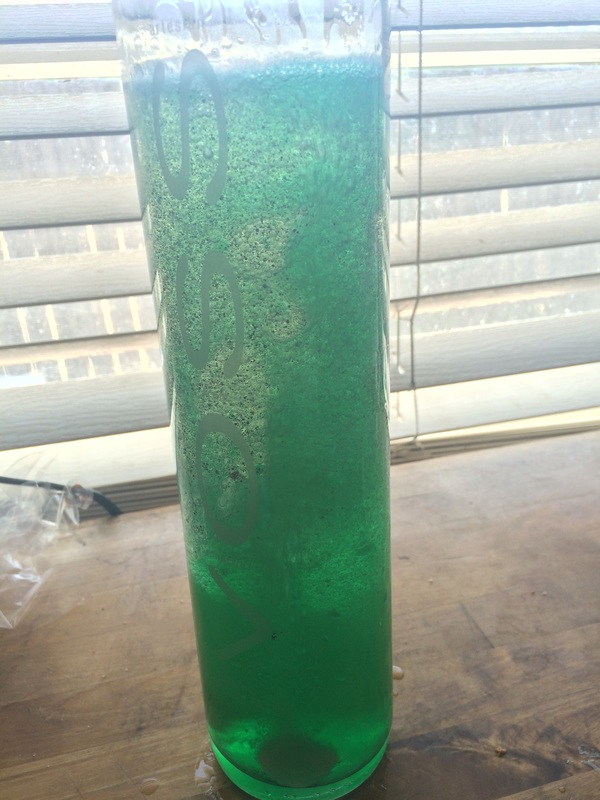
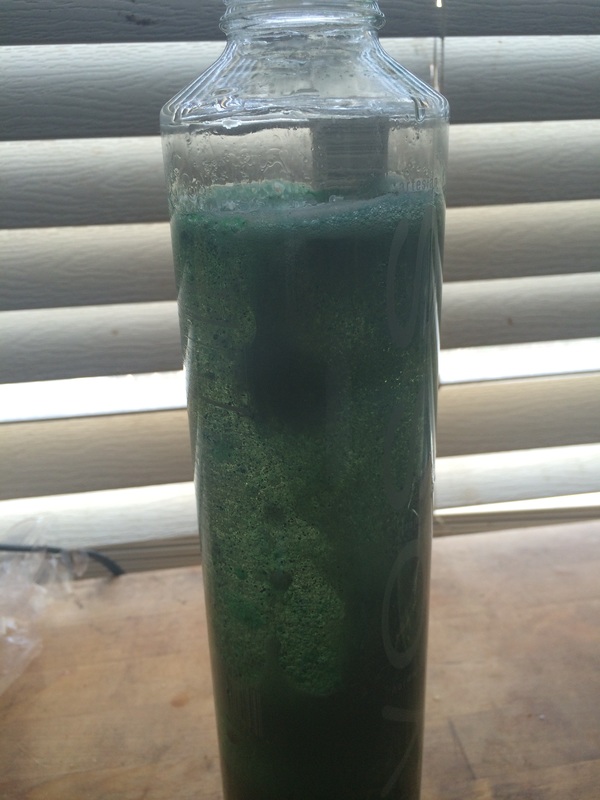
For this experiment, I was interested in actually seeing if the results would be similar to an actual lava lamp. I knew that it wouldn't be completely as accurate as a chemically made lava lamp, but I was interested in seeing just a small chemical reaction with the ingredients I used. First in the procedure I gathered my materials , Water, Alka-Zeltzer, vegetable Oil, Bottle, and Food Coloring. I added the oil in food coloring in one part of the empty bottle, then i added water into the rest of the half, after having both of my two main liquids in the bottle, I dropped in two aka-zeltzers and watched the bubbles form and a sort of stirring motion happen. The oil and and water were coming in contact because of the alma seltzer. Science: With the oil and water being mixed together, and then dropping the alkaseltzer in, it creates bubbles fizzing to the top and creates bubbles of carbon dioxide. Once the bubbles get the the top, then they fall back down through the water; you are able to see all of this happening because of the food coloring that is active through out the process. The alkaseltzer is made of citric acid and baking soda, the two act together making sodium citrate, and then the carbon dioxide reaction. To keep the reaction going you would have to add continuous amounts of alkaseltzer because that is what is causing the reaction. Each time you drop more in, it is bubbling and reacting all over again.
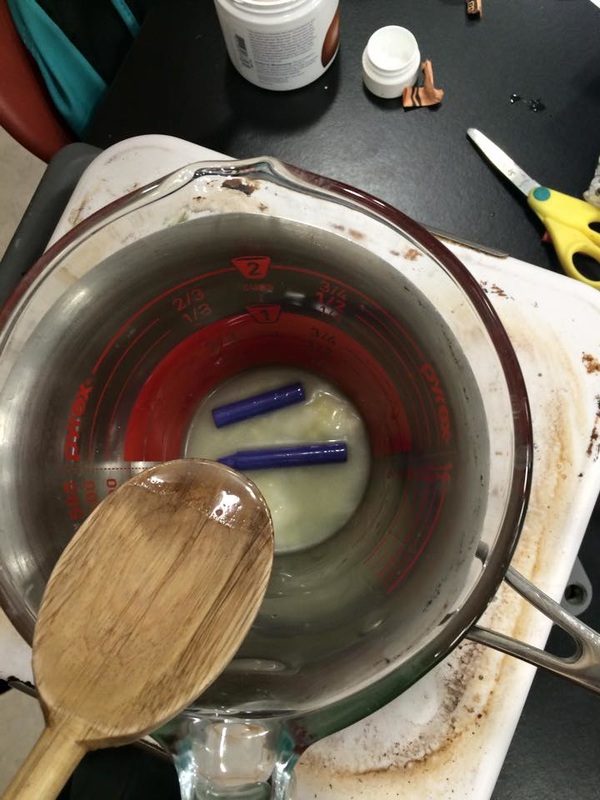
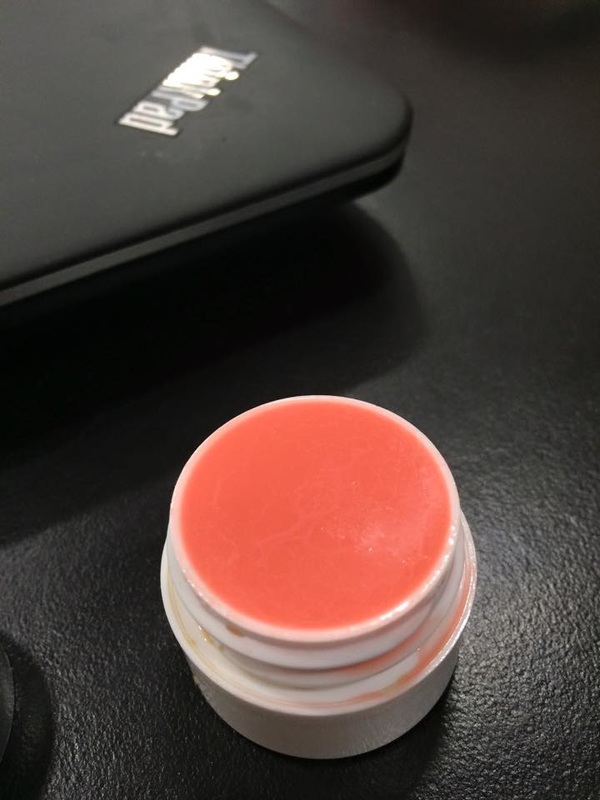
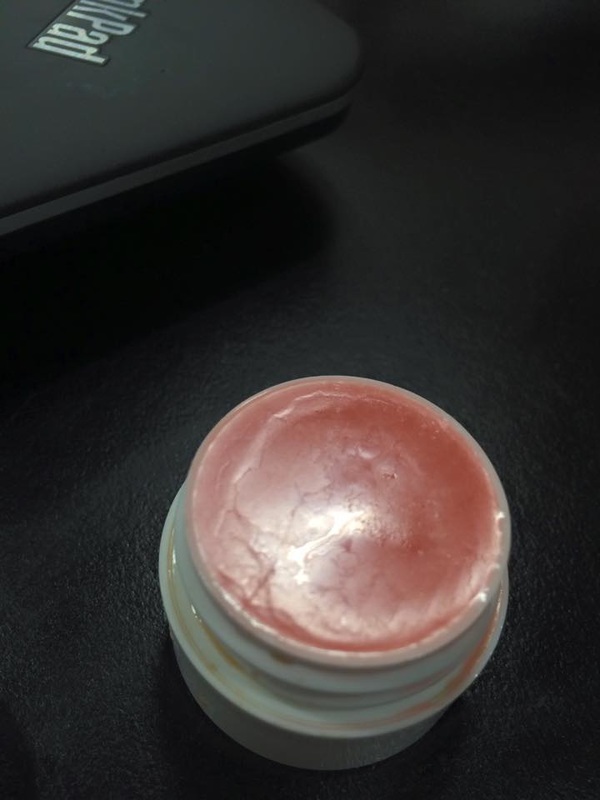
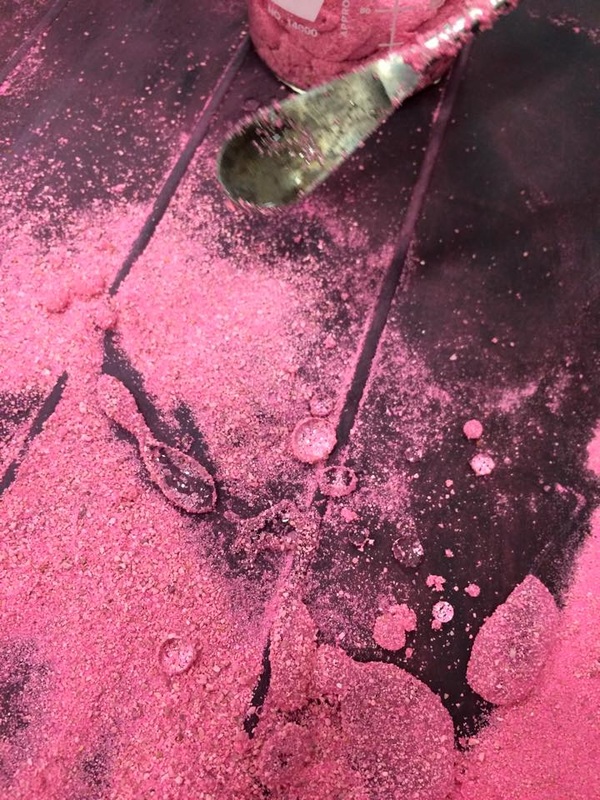
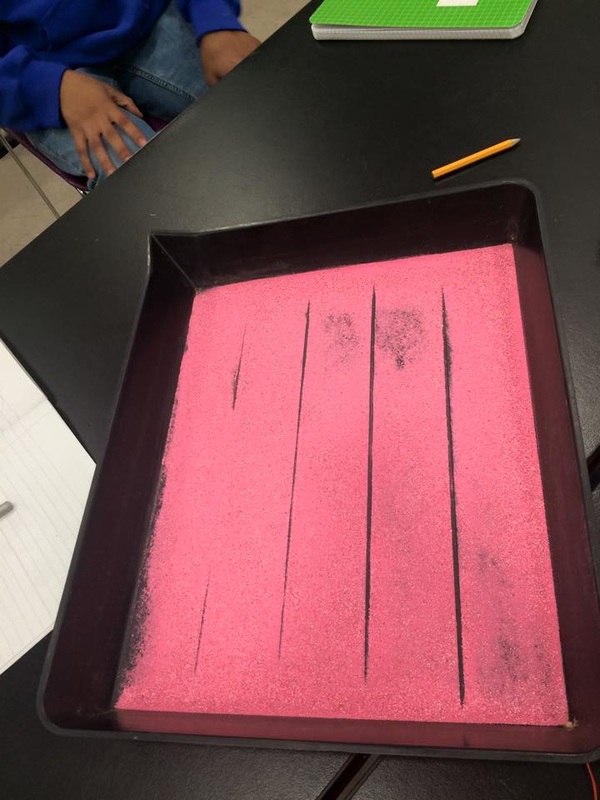
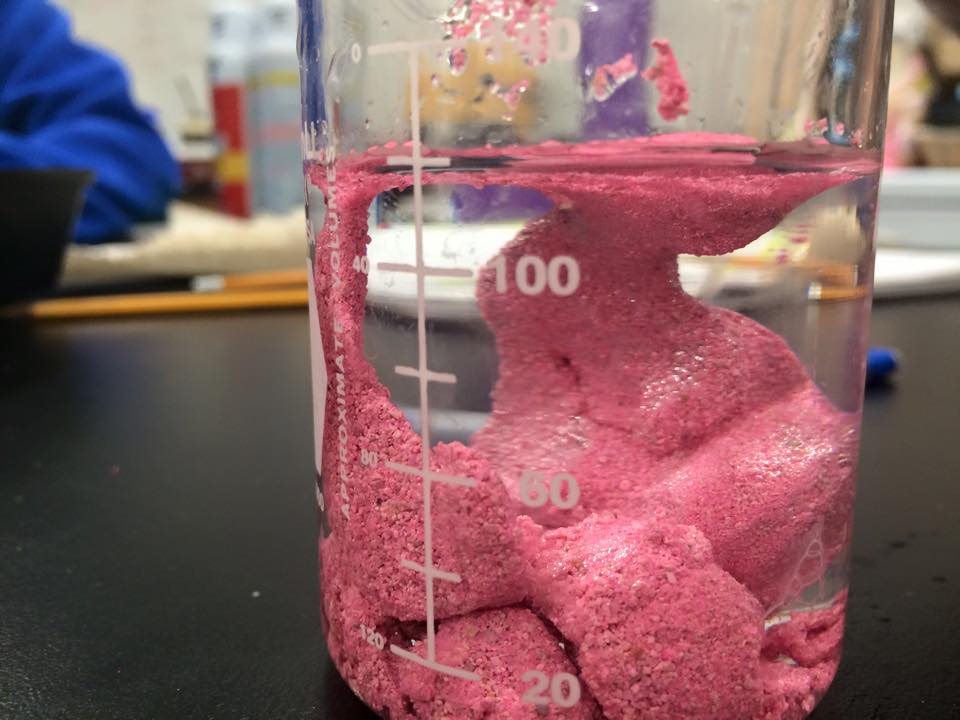
LOOKING INWARD, OUTWARD, BEYOND AND TAKE AWAYS: During this experiment, it was short and simple, but still interesting in a way that was still chemistry related. I think if I could have done it again, I would choose to do deeper research on electronic lava lamps and see if I could make one more related to that. I think it would be fun to do an experiment many times, but each time do it a little more complex. Not only is this simple, but in a way it is also a little complicated. I like to think about everything in a more complex way than things really are. This simple oil and water lava lamp, could be taken to the next level, just by thinking about different liquids mixing and chemicals reacting. What I got from this experiment was knowledge on the science between oil and water separation, and what an alkaseltzer does. I also gathered that there are a lot of complex ways to take on an experiment, this time I didn't make this experiment complex, but in the future it would be fun too. experiment:Before the experiment, I had to do research on the science and things behind it. Chapstick is used to moisturize humans lips. Lips are have thinner layers of skin then the rest of our bodies skin. It makes them more vulnerable to weather conditions and exposure to dry them out. Since lips are always getting chapped, we looked up things to help moisturize lips. The first thing was vegetable oil, because it adds a natural sensitive healer into our lip balm. Even though the chap sticks at the store are cute and smell good, sometimes they aren't always the best for you because they contain alcohol that can just make your lips crack and dry more. Then we added vitamin D to add softness and help restore cracks. Vitamin can be used to treat certain skin diseases so it is ok to use it in our lip balm. We also used shea butter, which is a thick natural nice lip booster as it is. Then we added vanilla for a light scent and a non-toxic crayon for color. This experiment was to create a chap stick to help chap lips and learn why it does. To make chapstick, me and another person gathered our ingredients and started. We first boiled the shea butter, crayon, vitamin D, vanilla, and vegetable oil together so it was completely melted. Then we let it cool a little and then distributed it to our containers. What I gained from this experiment was knowledge on vitamins and a reaction between a nourishing product and dry lips. I waited for my chap stick to dry for a day and when I started using it, my lips were actually getting healthier and very soft. Normally when we do experiments in chemistry we just end up throwing the lab product away or having the clean it up. But this time we had something to take away with us. My chap stick is used every day and the ingredients in it help my lips, which was unexpected actually. I also really liked this experiment because I plan on going to med school and becoming a surgeon, so I am always interested in human topics and even if we were just learning about why people get chapped lips and how to create a balm to help, it was still enjoyable to do sort of a medical thing for ourselves. we created a "medicine" for our lips. Below are pictures of the process and end result. experiment:In this experiment our objective was the create sand that was water proof. To do so we took sand, put it in a tub and sprayed serval layers of scotch guard on it. The spray is acting as silicone and making the sand water proof because it is providing a shield. Since the spray we were putting on the sand was non-polar and the sand and water are polar, that is why the sand cannot get wet. Polar and non-polar do not go together. LOOKING BEYOND: Sand is hydrophilic, if it wasn't, then the ocean wouldn't be able to touch the sand. Things that are able to dissolve in water are hydrophilic because they can stand the water. Things that won't dissolve in water are hydrophobic, it is like they are afraid of water. So considering sand is hydrophilic, we did an experiment and made sand the opposite which is hydrophobic. Since we coated it in silicone and silicone is a non-polar, it didn't want to touch the water.
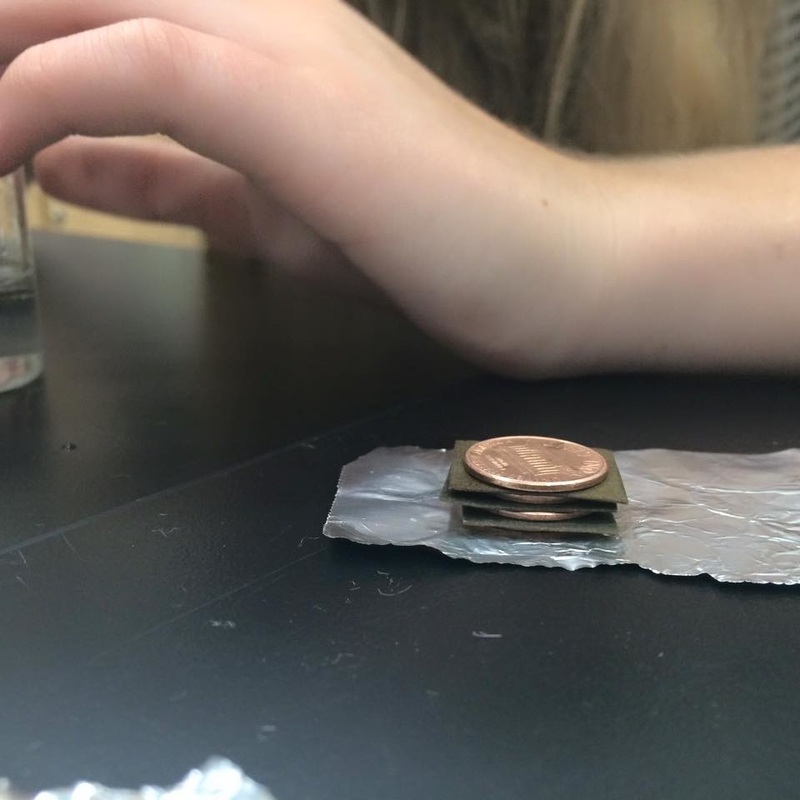
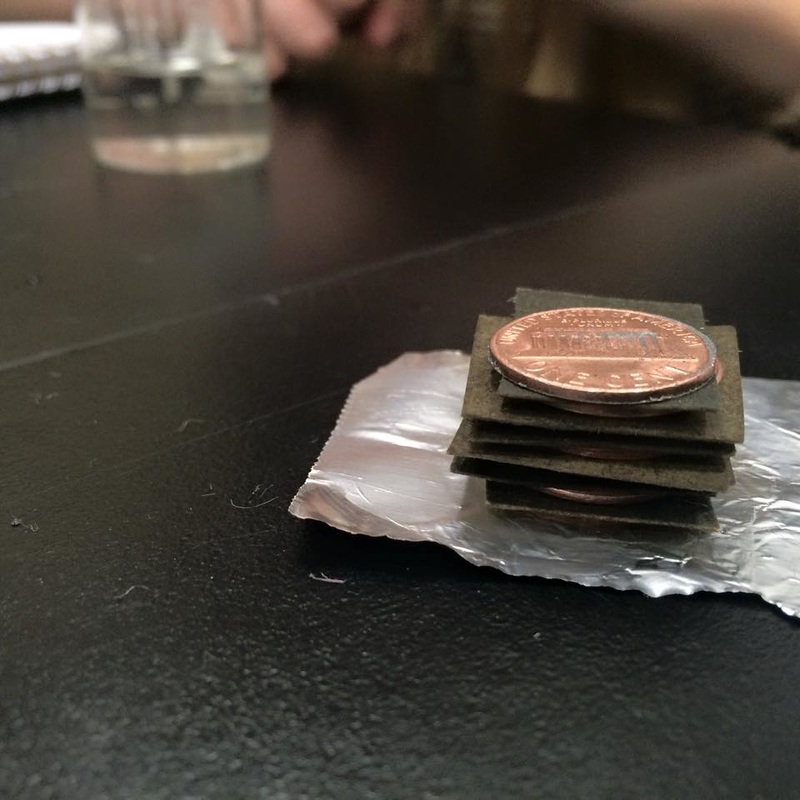
LOOKING INWARD: I thought this experiment was super interesting. We got to discover a lot of non polar and polar information. We also learned more about ionic compounds which I find really interesting because it is all a lot of information about all these things in our every day lives. LOOKING OUTWARD: I would say for this that it wasn't an amazing experiment but it was definitely cool. I think the best part was when we poured the water over the sand and just watched the clumps of water roll around. Also dumping the sand in the cup of water was also really weird because it just looked like a sponge. So I think that the outcome was cool and satisfying, but the process wasn't so great. LOOKING FORWARD: I think with the whole process of learning about covalent compounds and ionic compounds, it has shown me that I really enjoy learning about the really gritty science info. It can get confusing but overall I like to challenge myself and want to start doing more things where I have to learn a lot of science behind it. TAKE AWAY: I think what I took away from this experiment was my knowledge. Normally I take away I cool image or product, but this time I was satisfied with just the learning. I liked the lesson and am glad we did this and got a lot of help from my peers and teachers to understand. Experiment:Before this experiment started we first covered some basic ideas to help us with the experiment. We learned that all elements have different electrons, the flow of electrons is electricity. In our penny powered batter we are creating electricity with Copper, Zinc, Tin foil, cardboard, vinegar, an of course pennies. We needed to expose the zinc on the penny so that it could create an electric current. When the copper hits the electrolytes a reaction occurs where the metal forms positive ions. Zinc is an element that loses electrons easily and so the electrons travel to the copper ions. Zinc wants to lose its electrons faster than Copper does.
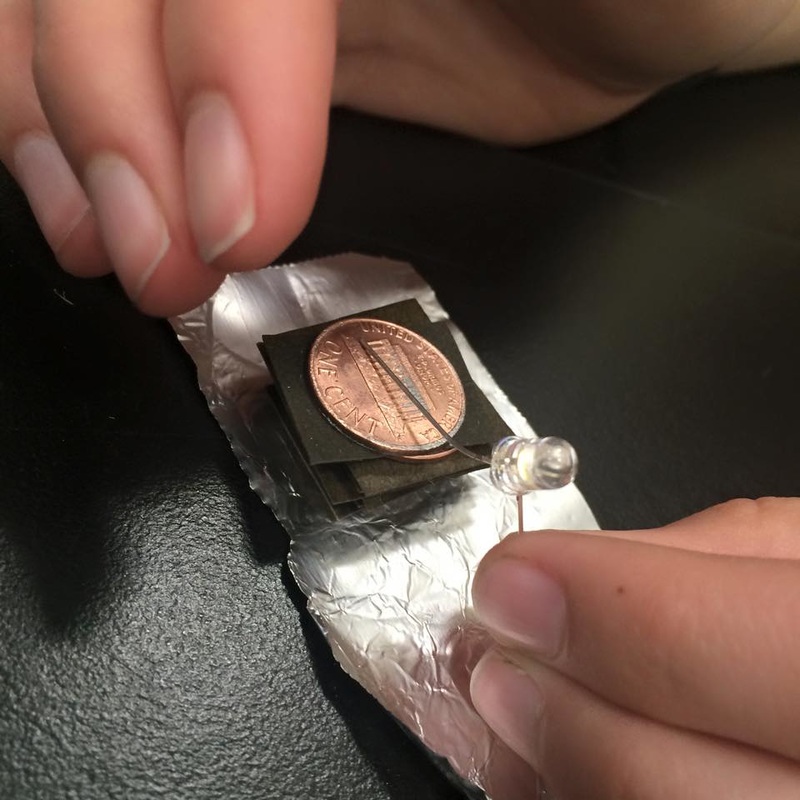
My group and I first went outside and sand one side of the penny so that it was completely silver. Our pennies were 97% zinc and covered in copper, so we sanded down the pennies into bare copper. Then, we cut up card stock that was approximately the size of the pennies and we dipped them in vinegar. We dipped them in vinegar because the vinegar has electrolytes to get the battery going. Then, on top of tin foil, we layered a penny and then a piece of card stock on top of each other for about five times. Then, it was time, we took our LED light and stuck one side to the top of the penny, and the other to the tinfoil. Our LED light started working! It was exiting to see our light working with the battery we had created with household items. LOOKING BEYOND: This experiment was a reaction of electrolytes and metals, the energy was powered by all the different elements and electrons. It was apparent that the more pennies you put on the stack, the more electricity you would receive. LOOKING INWARD: For this experiment it was interesting to the see the results. I didn't expect to be able to create energy that can last up to a couple days from just pennies and vinegar paper. But after reviewing the science behind it and going into how atoms and electrons work, it is more clear to what is happening scientifically. LOOKING OUTWARD: Now that the experiment is over I realized that I actually liked it, normally I like the really messy and complicated experiments, but this one was fun because my table group got to collaborate and work together and get a very cool result. LOOKING FORWARD: Now that I have done this experiment it has changed my mind of how I take on new experiments. Because I wasn't exited at first, but then as I got into it, it was becoming fun and interesting. Electricity isn't my favorite thing, but I do think it is very complex. TAKE AWAYS: I think from this experience I learned that I like doing group experiments. Normally I just do lab work with one partner, but this time working with a good group was fun. This experiment let me learn about interesting chemistry that I didn't know could occur through just a couple pennies, electrolytes and an LED. |